

Recently, I was tasked with creating a banner ad for Jamie McFarlane’s book. He sent me some of the graphics for his book and I came up with this little ad. I wanted to share my final product and a general overview of the process required to make an animation in GIMP. (If animation does not show up, click here)
First, I positioned all the text and images of the background the way I wanted them. Then I created a layer in GIMP for each part of the animation. Because each frame is simply a combination of layers, I was able to show and hide the text when the time was right by clicking the show/hide button in GIMP.

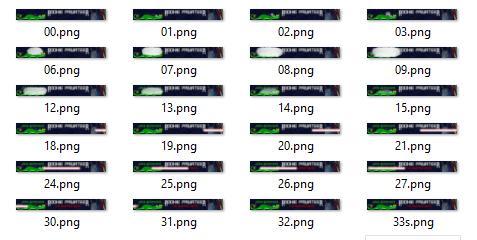
To generate the frames, I systematically went through and exported pngs of each frame of the animation showing and hiding the correct layers to produce the desired frame.
After all the frames were generated, I imported them into a new gimp project and arranged them with the last frame in the animation as the highest layer. Then to produce the best result, I used custom timing for each frame. This is accomplished by putting the delay time after the layer name, as an example “Frame1” delayed for 100 milliseconds would be “Frame1(100ms)”.

After all the layers have been positioned and timed, you can go to File -> Export, choosing a filename ending in .gif such as animation.gif. This will bring up the gif options. From there you can set the default time (only used when you don’t specify it), a few other options, and the option to loop the animation. After clicking export, the gif will be generated.

Thanks for reading. Feel free to check out my other posts as well as Jamie McFarlane’s site/book (you can click the ad).

